Creating a workflow#
The main window for setting up workflows in the Task/Calculator structure is the associated dock widget.
Workflows that have already been created are displayed here, individual elements can be selected for editing and the workflows can also be started.
Add a new task#
The + Add… button can be used to add new elements for a new workflow or an existing workflow. If no workflow is selected, only the task elements can be selected as the starting point for a new workflow.
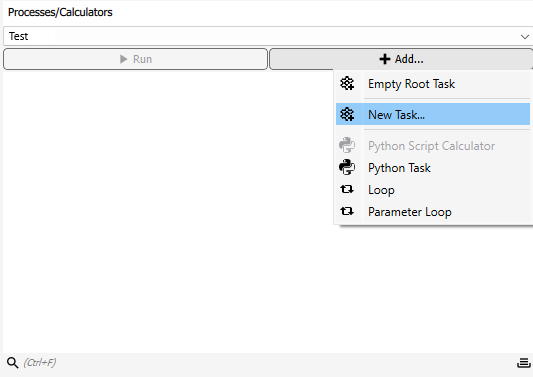
The option Empty Root Task is suggested first in the menu. This enables a new workflow to be started directly with a basic task element, which has no further coordinating function except to execute all subordinate workflow elements once. In addition, the context menu shows a series of the most recently prioritised workflow elements for quicker selection.
The New Task… button opens an editor that displays all available tasks from which you can choose.
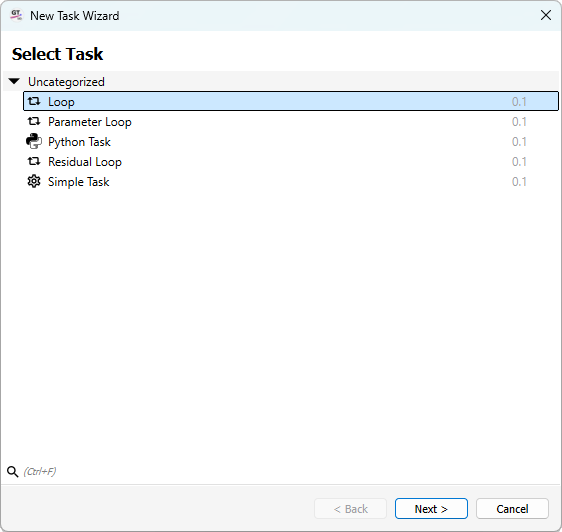
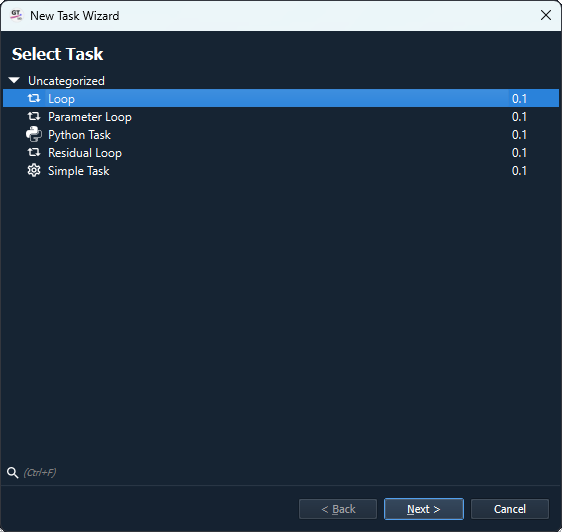
In this New Task Wizard, the available tasks are sorted into categories. If additional tasks are added via modules, they can also be found here. If a task is now selected, the Next button can be pressed and the task’s propeties can be customised. However, this can also be done later. The wizard is ended with Finish and the task appears in the overview in the window.
Add a new calculator#
Just like creating a new task, you can also add a calculator to a task. Calculators themselves cannot be the highest element of a workflow. If you simply want to execute a calculator, you assign it to a base task. Further tasks can also be arranged under tasks, e.g. to execute loops in sub-processes or similar.
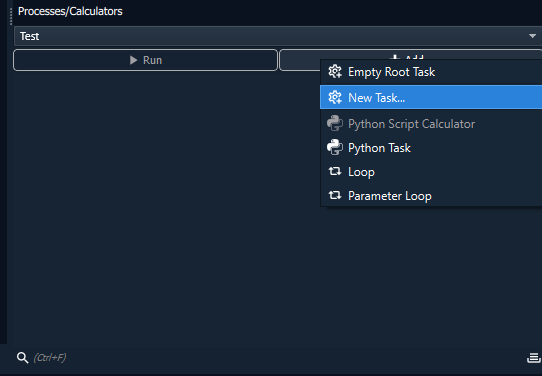
If a task is selected and then + Add is pressed, more items now appear in the menu that appears, in particular New Calculator…. This in turn takes you to an overview of the available calculators. If an element is selected and Next is pressed, properties can be can be set and the workflow is ended via Finish and the calculator is placed under the task.
Start a workflow#
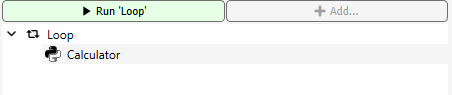
The selected task is started via the Run button, the name of which is supplemented by the selected task.
The same button can also be used to cancel tasks prematurely or to add further tasks to the queue for subsequent execution.